Need to send invoices or pay bills? Bill.com and Xero are a great combination to do that efficiently. This Bill.com/Xero Sync – Setup Guide provides step-by-step instructions on setting up the sync between Bill.com and Xero. The conversion process is simple and convenient. Follow the steps below and watch the change from your old system to the new one soar by. The transition is smooth and easy with this guide.

Set up the Sync
1. Name Tracking Categories
If you use Locations and Departments in Bill.com, OR Departments and Locations in Xero, they must be named named Location and Department to ensure proper sync.
2. Connect to Xero
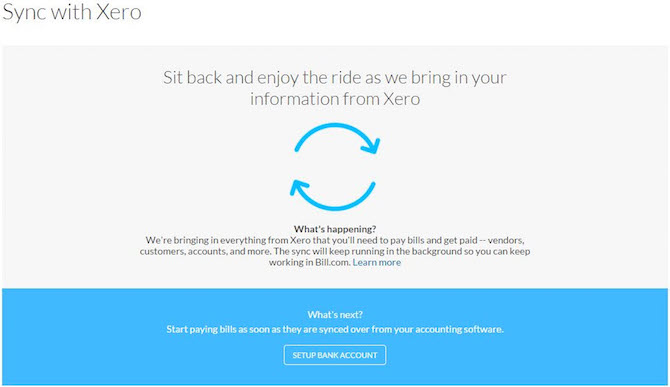
Log into Bill.com, and click Connect to Xero. 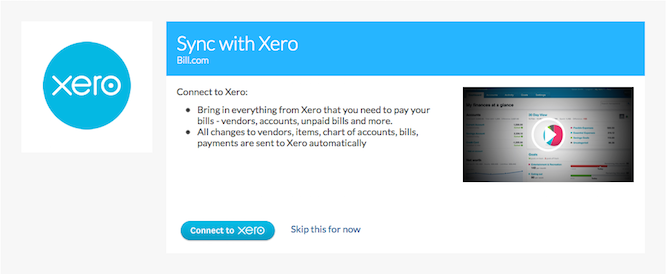
If you’re already logged in, and don’t see the Sync with Xero page:
- Hover over the gear icon
 , and then click App Center
 - Click Xero
- Click Connect to Xero
3. Log in to Xero
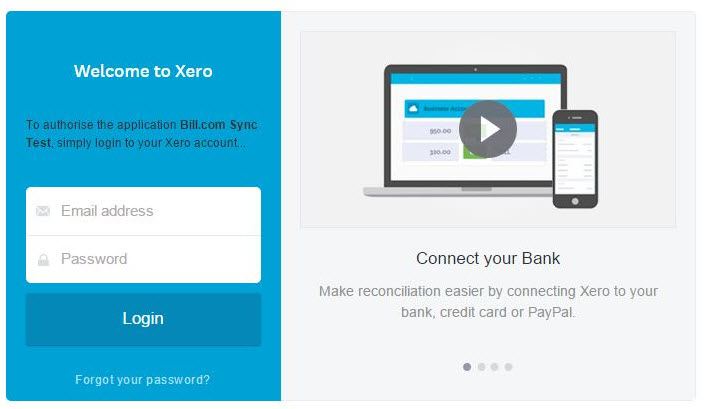
4. Select the Xero company you would like to sync with, and click Authorize
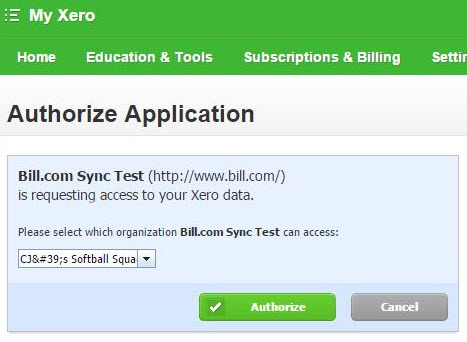
5. After the first sync completes, click Perform additional setup to sync bills and payments

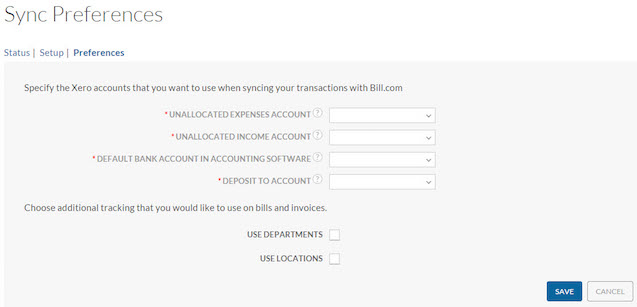
6. Fill out Preferences, and then click Save
7. Hover over the sync menu icon ![]() , and click Sync Now to run another sync.
, and click Sync Now to run another sync.

Note: The progress indicator will be displayed during the sync between Xero and Bill.com
8. Success! You’ve finished setting up the sync between Bill.com and Xero!


